


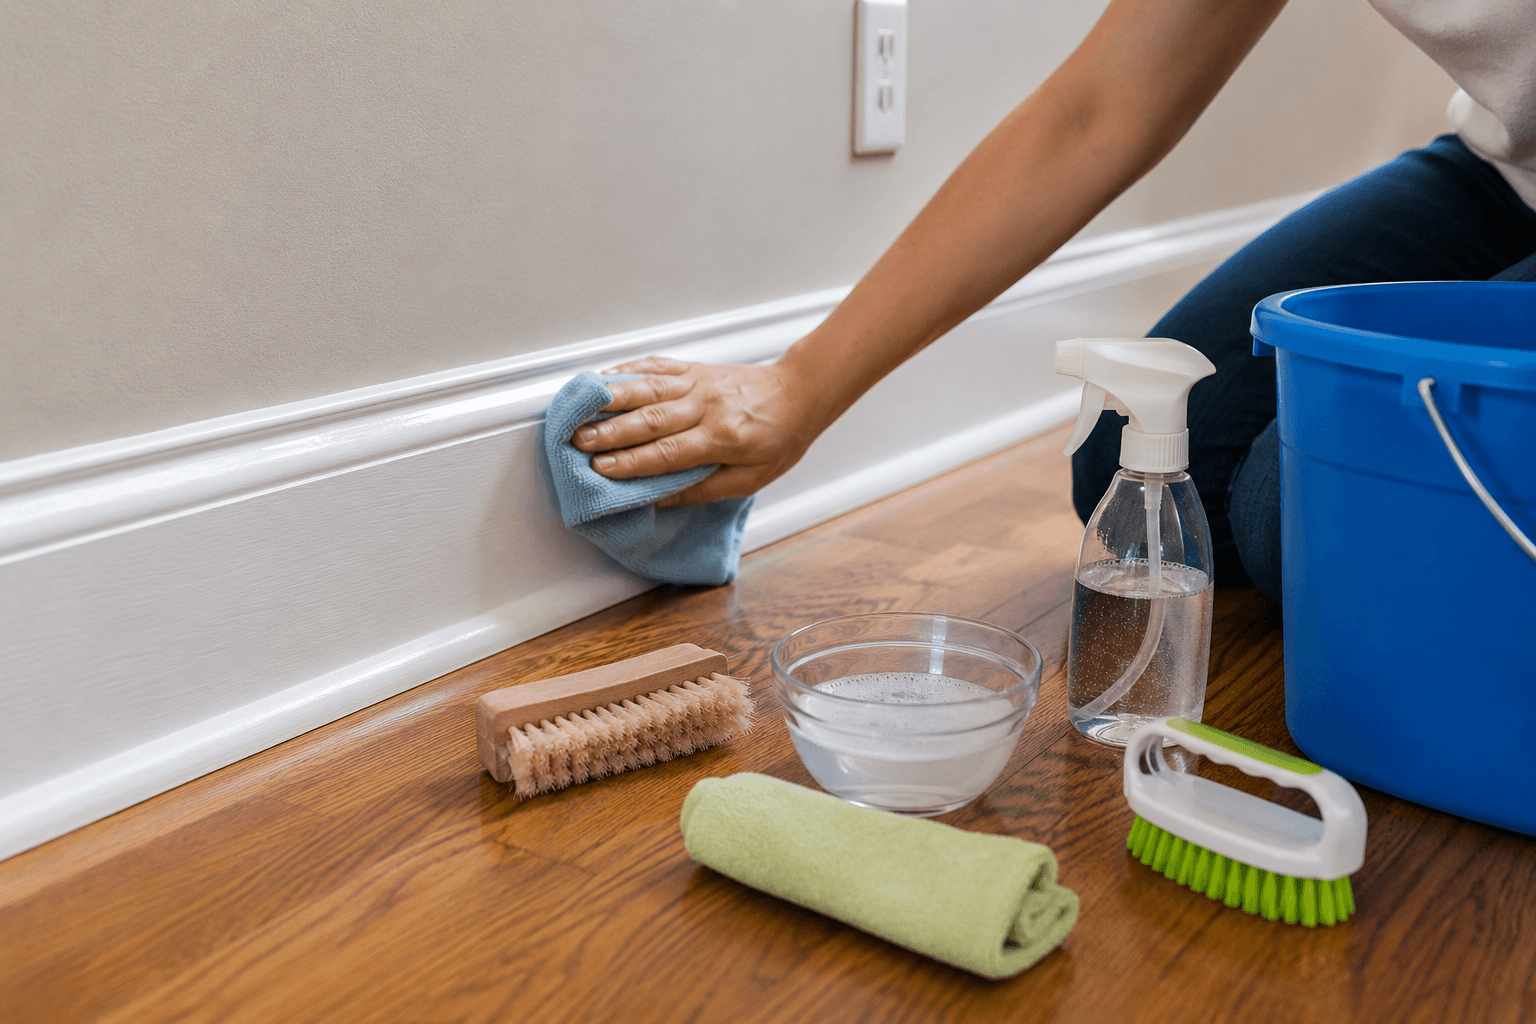
Baseboards are one of those details that quietly make or break a room. They frame the floor, tie the wall color to the flooring, and yet they’re often the last thing anyone thinks to clean. If you’ve ever knelt down to wipe a baseboard and been surprised by how much dust, grime, or pet hair had built up along the edge, you already know why learning how to clean baseboards properly matters more than it seems. This guide walks through everything you need to know, from the tools that work best to the mistakes that make the job harder than it should be.
Why Baseboards Get So Dirty
Baseboards sit at the exact height where dust settles, shoes scuff, and mop water splashes. Every time you vacuum or sweep, airborne dust gets stirred up and eventually lands right along that thin strip of wood or vinyl trim. Add in static electricity, which pulls dust toward surfaces near the floor, and you have a recipe for buildup that happens faster than most people expect.
Homes with pets or young children tend to see even more grime here, since fur, food crumbs, and handprints often end up at baseboard level. Understanding why baseboards attract so much dirt is the first step in figuring out how to clean baseboards efficiently instead of just wiping them once and hoping the problem stays away.
What You’ll Need Before You Start
You don’t need a cabinet full of specialty products to get this job done well. A microfiber cloth, a soft-bristle brush or an old sock, a bucket of warm water, and a mild dish soap or all-purpose cleaner will handle most situations. For textured or grooved baseboards, a small paintbrush or an unused toothbrush helps reach into the grooves where dust likes to hide.
If you’re dealing with painted wood trim, avoid anything too abrasive, since scrubbing pads can scratch the finish. Vinegar diluted with water works well for general grime, while a slightly stronger solution helps with sticky residue or scuff marks. Having these supplies ready before you begin makes the entire process faster and less frustrating.
How to Clean Baseboards Step by Step
Once you have your supplies together, the actual process of how to clean baseboards is simpler than most people assume. Start by removing loose dust with a dry microfiber cloth or a vacuum attachment. This step matters because wiping wet cloths over dry dust just turns it into muddy streaks that are harder to remove later.
After the dry pass, dampen your cloth with warm soapy water and wring it out well so it’s not dripping. Wipe along the length of the baseboard in one direction rather than scrubbing back and forth, which helps lift dirt instead of pushing it around. For stubborn spots, let the damp cloth sit on the area for a few seconds before wiping again.
Finish by going over the baseboards with a dry cloth to remove any leftover moisture. This prevents water spots and keeps painted surfaces looking clean rather than streaky. Following these steps consistently is really the core of how to clean baseboards without wasting time or damaging the trim.
Dry Dusting Versus Wet Cleaning
A lot of people wonder whether baseboards need a wet cleaning every time or if dusting alone is enough. The honest answer depends on how dirty they are. If it’s been a week or two since the last cleaning, a quick dry dusting with a microfiber cloth or a vacuum brush attachment is usually sufficient.
Wet cleaning becomes necessary when there’s visible grime, scuff marks, or a sticky film from cooking grease or cleaning product overspray. Mixing both methods into a routine is the smartest approach for how to clean baseboards long-term, since dry dusting keeps things from building up and wet cleaning handles the occasional deeper clean.
Tools That Make the Job Easier
Beyond the basic cloth-and-bucket method, a few tools can genuinely speed things up. A dryer sheet works surprisingly well for dusting because the anti-static properties help repel new dust after cleaning, meaning your baseboards stay cleaner for longer.
An extendable duster with a flexible head reaches tight corners without forcing you to bend over repeatedly. Vacuum attachments with soft brushes are excellent for carpeted rooms where dust tends to collect right at the base of the trim. Some people even use a paintbrush dedicated solely to baseboard cleaning, since the bristles get into grooves and decorative molding that a cloth simply can’t reach.
Choosing the right combination of tools depends on your flooring type, the style of your baseboards, and how much time you want to spend. Once you find a setup that works, the process of how to clean baseboards becomes almost automatic.
Dealing With Scuff Marks and Stains
Scuff marks are one of the most common complaints when it comes to baseboards, especially in hallways and near doorways where shoes and furniture brush against the trim. A magic eraser style sponge, lightly dampened, usually lifts these marks without damaging the paint underneath. Test a small hidden area first, since some finishes react differently to abrasive sponges.
For crayon marks or sticky residue, a small amount of baking soda mixed with water creates a gentle paste that works without scratching. Grease stains near kitchens often respond well to a vinegar and water mix, since the acidity cuts through oily residue effectively. Knowing how to clean baseboards with stains in mind means having a couple of these targeted solutions ready rather than relying on one all-purpose spray for everything.
Cleaning Baseboards on Different Flooring Types
The flooring next to your baseboards actually affects how you should approach cleaning them. In carpeted rooms, dust and fibers tend to collect along the base, so vacuuming first before wiping prevents you from just pushing debris around. In rooms with hardwood or laminate, mop splashes are often the culprit, so keeping a dry cloth nearby to catch drips as you clean the floor helps baseboards stay cleaner between deep cleans. If you’re also updating the look of your room, clean baseboards create a polished finish that pairs perfectly with fresh wall designs. For more inspiration, check out our guide on Accent Wall Ideas: Creative Ways to Transform Wall.
Tile floors, especially in bathrooms and kitchens, tend to introduce more moisture and soap scum near the baseboards, which calls for a slightly stronger cleaning solution. Adjusting your technique based on flooring type isn’t complicated, but it does make a noticeable difference in how often you need to repeat the process.
How Often Should You Clean Baseboards
There’s no single answer that fits every home, but a general guideline works well for most people. Dusting baseboards every one to two weeks during a regular cleaning routine keeps buildup from becoming a bigger project later. A deeper wet cleaning every one to two months is usually enough to handle grime that dry dusting can’t fully remove.
Homes with pets, young kids, or high foot traffic areas may need more frequent attention, sometimes weekly, since these environments accumulate dirt faster. Setting a simple schedule is one of the most overlooked parts of how to clean baseboards effectively, because consistency matters more than intensity when it comes to keeping trim looking fresh.
Common Mistakes to Avoid
One of the biggest mistakes people make is skipping the dry dusting step and going straight to a wet cloth. This turns dry dust into a muddy paste that smears rather than lifts away. Another common issue is using cleaning products that are too harsh for painted surfaces, which can dull the finish over time or cause peeling with repeated use.
Scrubbing too aggressively is another problem, especially on textured or decorative baseboards where firm pressure can wear down detailing. Finally, many people forget to dry the baseboards after wiping them, which leaves streaks and can even encourage mold growth in humid bathrooms. Avoiding these mistakes is just as important as knowing the right steps, since even a good method can fall short if it’s applied carelessly.
Making Baseboard Cleaning Part of Your Routine
The easiest way to avoid a big, dreaded cleaning session is to fold baseboard care into your existing routine rather than treating it as a separate chore. Wiping baseboards while you’re already dusting furniture, or doing a quick pass with a dryer sheet after vacuuming, takes only a few extra minutes. Over time, this small habit prevents the kind of heavy buildup that makes cleaning feel like a chore in the first place. If you’re planning a complete room refresh, combining clean trim with updated walls can make a noticeable difference. You may also like our guide on Accent Wall Ideas: Creative Ways to Transform Wall.
Many people find that pairing baseboard cleaning with seasonal deep cleaning, such as before holidays or during spring cleaning, keeps the task manageable. Learning how to clean baseboards isn’t really about mastering a complicated technique, it’s about building a light, repeatable habit that fits naturally into how you already care for your home. If you’re interested in how interior finishing elements contribute to a room’s appearance, you can learn more about baseboards on Wikipedia.
FAQs about clean baseboards
Do I need special products to clean baseboards?
Not usually. Warm water with a bit of dish soap or diluted vinegar handles most everyday grime. Specialty products are only necessary for stubborn stains or specific surfaces like unfinished wood.
Can I use a Swiffer or dust mop on baseboards?
Yes, a Swiffer-style duster works well for quick maintenance between deeper cleans, especially for capturing loose dust along flat surfaces.
What’s the best way to clean textured or grooved baseboards?
A small paintbrush or an old toothbrush works best for grooves, since it reaches into the detailing that a flat cloth tends to skip over.
Will cleaning baseboards damage the paint?
Not if you use gentle cleaners and avoid abrasive scrubbing pads. Testing a small area first is a good habit, especially with older paint finishes.
How long does it typically take to clean baseboards in a whole house?
For an average home, expect somewhere between thirty minutes and an hour, depending on the number of rooms and how much buildup has accumulated since the last cleaning.
